
🛠️ Seal it once, forget it forever — the ultimate fuel tank armor!
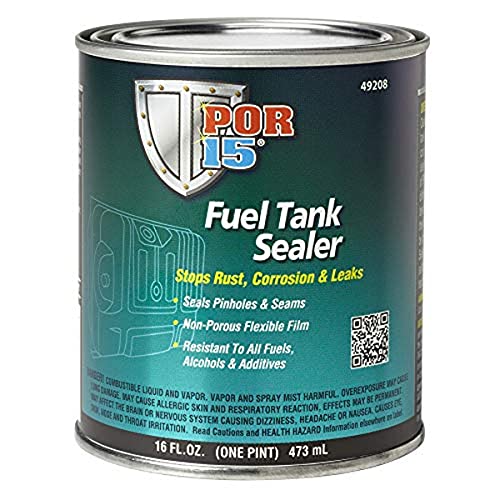
POR-15 Fuel Tank Sealer is a professional-grade coating designed to permanently seal fuel tanks against rust, corrosion, leaks, and pinholes. Engineered to resist all fuel types including high-alcohol blends, it forms a flexible, non-porous film that ensures long-lasting protection. Ideal for automotive restoration, this 16-ounce sealer requires thorough tank prep and a 4-day curing process to deliver unbeatable durability trusted by both DIY enthusiasts and professionals.


| ASIN | B00B3I2NWG |
| Best Sellers Rank | #20,234 in Automotive ( See Top 100 in Automotive ) #93 in Automotive Fillers, Adhesives & Sealants |
| Item model number | 49208 |
| Manufacturer | POR-15 |
| Product Dimensions | 3.25 x 3.25 x 4 cm; 453.59 g |
W**S
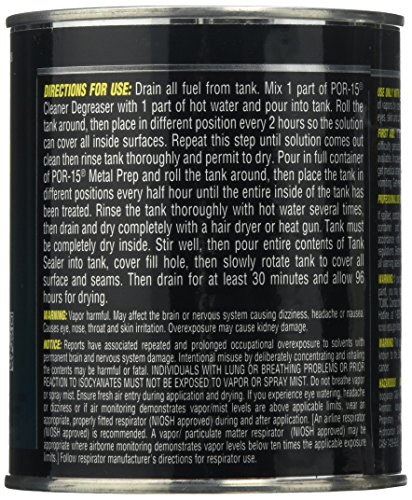
The same stuff I disliked about this product (this Tank Sealer sticks to EVERYTHING, and the preparation to use it takes patience and time) are the same things that make the results so spectacular! Yes, it takes a lot of time to do the prep (mostly clock time for things to soak), and yes the Tank Sealer is hard to remove from stuff (so wear gloves, cover the outside of the tank with painter's tape and plastic), but that means it seals your tank and you won't have to worry about it again. The whole process consists of 3 or 4 steps. Step (1) is POR-15 Cleaner Degreaser (avail on Amazon) - removes any fuel varnish or other coatings from the inside of the tank. Step (2) is POR-15 Metal Prep (avail on Amazon) - removes rust, etches the metal for better adhesion of the Tank Sealer, and chemically adjust the pH of the surface, too. Each of these steps takes time, because you have to slosh the stuff around in the tank and then leave the tank in various positions to ensure that the "stuff" has time to work on the metal everywhere inside the tank. Then Step (3) is this stuff - the POR-15 Tank Sealer. This goes in and you spend a good while rotating the tank around slowly so this stuff will coat the entire surface of the inside of the tank. That took some finagling for me - because my tank has two drain pipes that run from up by the fuel filler neck to the bottom of the tank where they emerge near the fuel pump. So I built a special paint brush from a cheap 1" brush and a coat hanger so I could bend it into a shape to get to the pipes through the vacant fuel pump hole. So what is the 4th step? Well, if you have a LOT of rust (see my first 2 pics, which is actually moderate rust), then Step (0) is to use Evapo-Rust to get it out. This takes time. I had my tank soaking with this stuff in it for 4 days, sloshing it around and leaving it in a different orientation every few hours to make sure every internal surface had its share of Evapo-Rust time. So doing Step (0) took me four days. Yup, I let it really soak to get ALL the rust out. Then another day or so sloshing around doing Steps (1) and (2). Then you VERY CAREFULLY dry the tank (best to let it get toasty hot in the sunshine after you have dried it out initially). Then you do Step (3) - this POR-15 Tank Sealer. You do the same thing, you slosh it around in there until the entire inside surface is coated. Then you pour out the excess. I actually turned the tank upside down and used a spoon to get the extra paint out. Whatever method you use, don't leave any puddles of the Tank Sealer inside the tank. Then you leave it for 4 days! No Less! Make sure that stuff is completely cured before you put everything back together and put fuel in it. I spent about 11 or 12 calendar days (on and off, of course for soak time) from start to finish, and you can see the result in Picture #3! Couldn't be more pleased. Some quick pointers: 1) Buy some Oatey or other pipe plugs to plug the tank holes. I used a conical rubber plug with a tightening screw in it for the fuel filler, and a cylindrical 2.5" pipe plug with a tightening screw for the fuel pump hole. Amazon has plenty of options, I am sure they have ones that will fit YOUR fuel tank. 2) Use painter's tape (not duct tape because it may pull paint off) and plastic sheeting to wrap your entire tank right up to the holes with the plugs. That way, any stray Tank Sealer won't get on the outside of the tank and mess up your paint job - which it will if you leave it for long. 3) Wear gloves, because this stuff sticks to your hands apparently just about as well as it sticks to the tank. 4) Do all the fluid changes and so forth OUTSIDE where you aren't going to make a mess inside your nice house or shop. 5) Don't rush it and make sure to follow the product's directions carefully - and you'll get great results, too!
C**E
We just rescued a 100 gallon diesel fuel transfer tank with this. There was no way to drain all of the diesel fuel out of the tank so We went completely against the instructions. Wecleaned the rust off of the bottom, sanded, used phosphoric acid, and then poured this entire pint can all over the bottom and spread it out with brushes. We went home for the weekend and came back to an ugly looking mess on the bottom lol. Sprayed the tank with white paint. But after 4 months the tank has not leaked since. Pretty darn good for half-azzing something!
G**.
Excellent sealer. Very hard finish once cured. I was not expecting the 96 hour cure time.
M**.
Working great Thanks
R**F
I’ll give this a 5 after a year or so. It looks like it might function as needed. I coated a fuel tank after several cleanings and yet it dry 4 days longer than required. Time will tell
Trustpilot
3 weeks ago
1 month ago


