Desertcart purchases this item on your behalf and handles shipping, customs, and support to Brazil.
💡 Light up your RAV4’s cargo game — don’t get left in the dark!
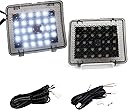
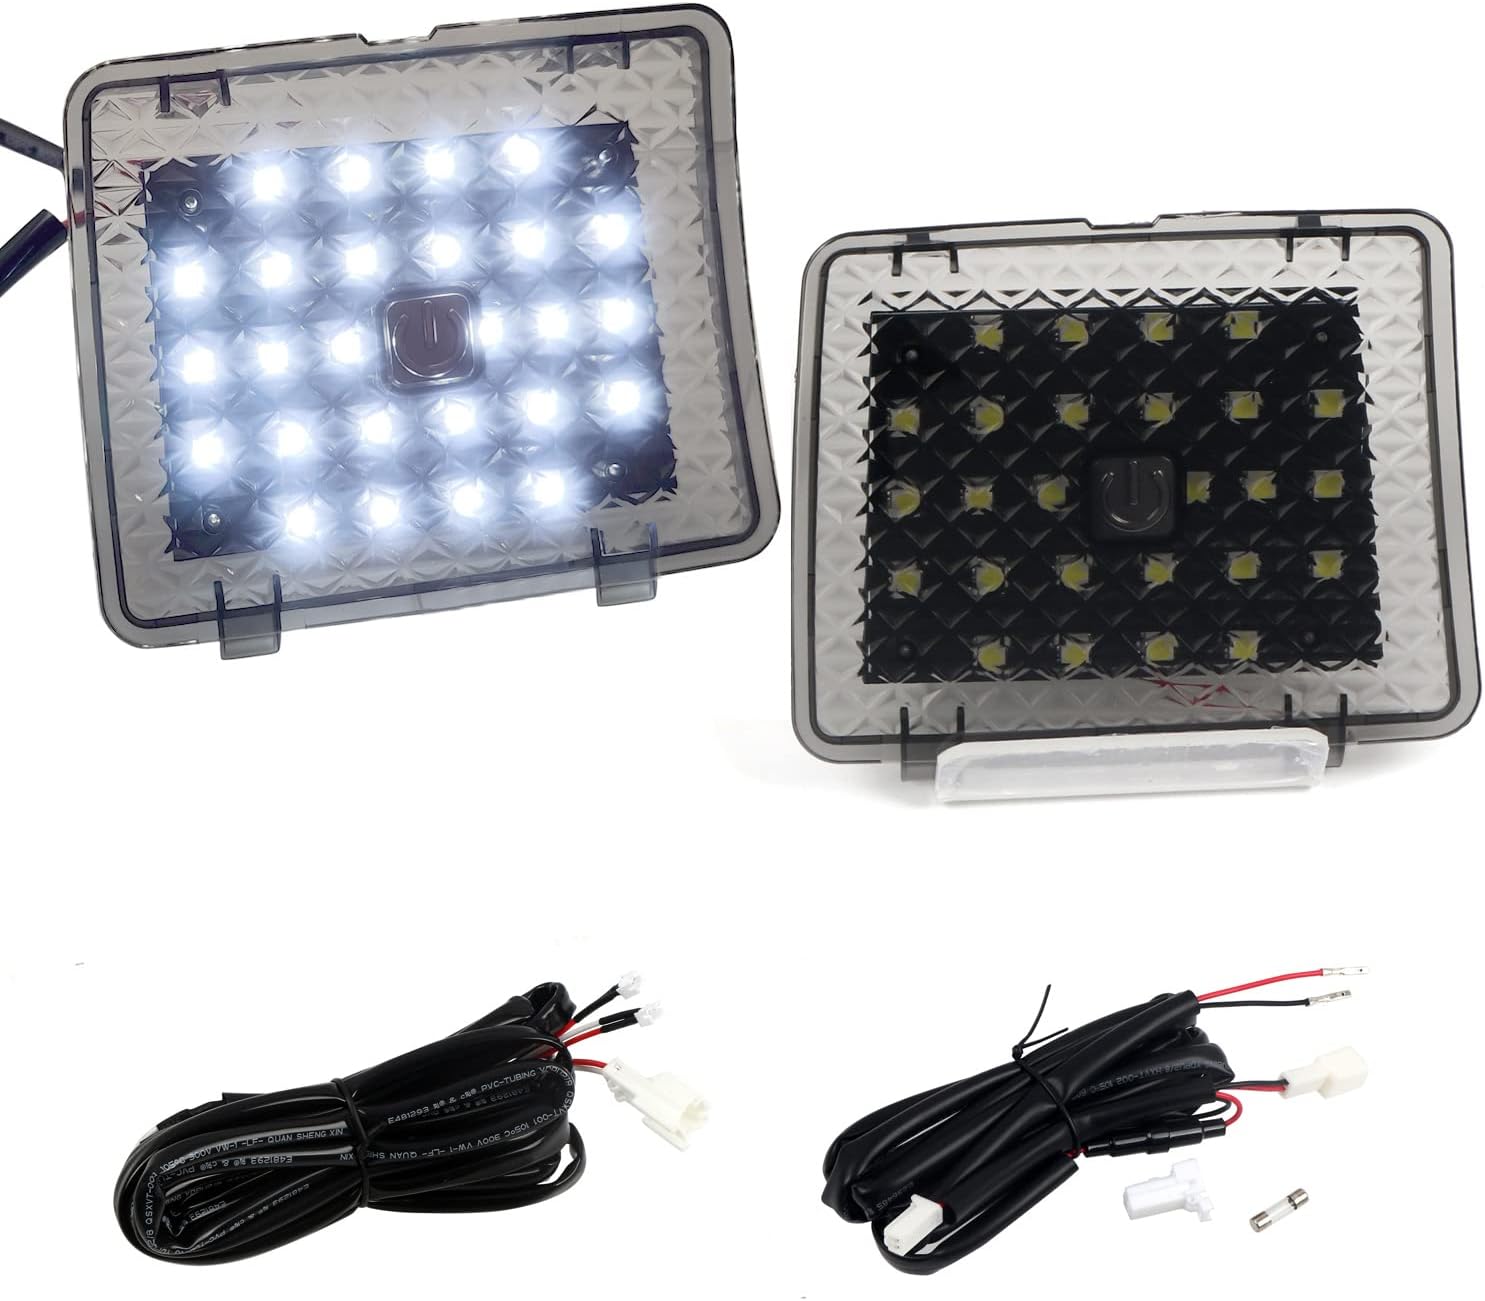
The HIGH FLYING Trunk Ceiling Lighting Kit is a sleek, plug-and-play LED upgrade designed exclusively for Toyota RAV4 models from 2022 to 2025. Featuring bright 2-watt LEDs with automatic on/off sensors and manual control, this kit replaces factory panels without any cutting or damage. Installation is straightforward with all necessary components included, delivering enhanced cargo area visibility and a modern interior upgrade backed by a 6-month warranty.


| ASIN | B09YTZR8WT |
| Best Sellers Rank | #149,875 in Automotive ( See Top 100 in Automotive ) #615 in Automotive Replacement Lighting Products |
| Brand Name | HIGH FLYING |
| Bulb Base | Flanged |
| Bulb Shape Size | ALR56 |
| Color | White |
| Customer Reviews | 4.5 out of 5 stars 162 Reviews |
| Finish Type | Painted |
| Finish Types | Painted |
| Included Components | 1 |
| Item Dimensions L x W x H | 7.4"L x 6.29"W x 3.14"H |
| Light Source Special Features | Automatic on/off, manual control |
| Light Source Type | Light Emitting Diode |
| Manufacturer | HIGH FLYING TRADE CO., LIMITED |
| Manufacturer Part Number | TYRA220506C |
| Manufacturer Warranty Description | 6 months. |
| Material | Plastic |
| Material Type | Plastic |
| Maximum Compatible Light Source Wattage | 30 watts |
| Model Number | TYRA220506C |
| Mounting Type | Flush Mount |
| Number of Items | 1 |
| Number of Light Sources | 1 |
| Number of Packs | 1 |
| Set Name | Toyota RAV4 2022-2025 |
| Shade Material | Plastic |
| Shape | Rectangular |
| Style Name | Modern |
| Unit Count | 1 Count |
| Voltage | 12 volts |
| Wattage | 2 watts |
A**E
Lubricate the wires to pull them through the rubber sleeve.
I love these lights! They provide much more useful lighting than the stock cargo area light on all but the top trim package RAV4. Product came as advertised. Instructions were in Chinese, and were useless to me. There are several very helpful installation videos on YouTube. Watch one or two before attempting to install these lights if you have any questions. The most helpful thing I can add is about pulling the wires through the rubber sleeve between the body and rear door. I used a piece of thin gauge (18 AWG) solid copper wire to fish the wires from the light kit through the sleeve. To push the pull wire through the sleeve, first take the pull wire and fold the last half inch over onto itself, and pinch it together to make a tight loop. Then wrap it in electrical tape. Push the wire through the rubber sleeve until it will not push any further, then work the folded head of the push wire through the sleeve by collapsing the sleeve and then expanding it while pinching onto the head of the push wire. When the push wire is through the sleeve, remove the tape, fold the ends of the two wires that you are fishing through the sleeve and hook the end through the hooked end of the pull wire, taping it up tightly with electrical tape afterward. The key here is to make the connection between the pull wire and the light wires as compact as possible. Then lubricate the taped connection that you just made and several inches of the wires that you are pulling through the sleeve. I used a couple of drops of dish detergent with a teaspoon or so of water and it worked fine. This will prevent any unwanted friction in the sleeve and against the other wires in it, and makes pulling the wires through so much easier than trying to pull through the rubber sleeve with dry wires. It will also prevent the chafing of any wires, which could eventually come back to haunt you later in your RAV4's life. Other than the bit about the rubber sleeve, you should buy the right tools to pop out the interior panel fasteners. The $10 you spend on a few plastic pry tools pay for themselves during this installation alone. It's much better than using the wrong tool and damaging the fasteners, then being reminded of it every time you see those dog-eared fasteners again. Also, be mindful that the lights are not exactly the same. If the first light you try to snap into place doesn't seem to fit right, try it on the other side and you will find that it is an exact fit. This was my second modification to my '24 hybrid after LED reverse lights (highly recommend) and I couldn't be happier with them.
K**S
RAV4 cargo lights. Very nice.
First. I ordered the wrong year, I have a 2019 but ordered the one for the 2022. Didn’t double check the “this fits your car” filter. Don’t always believe that thing. Anyway, the connection to the existing cargo kight is different. I just cut the connection off and spliced the wires together. No problem. Easy install, I did run the wires up through the washer fluid line because I didn’t have to make any extra holes. Spray lube on the harness so it slides through easily. I actually used weed eater plastic line to make a fish line, taped the wires to it and pulled it all through. That was the most time consuming part. The work great! Nice lighting. The light is bright and you see we’ll in the cargo area. Recommended
A**E
Functionality
Nice upgrade to the trunk area and the led's are very bright. I like the fact that they have a touch button built in to shut them off independently.
E**A
A must have lights
The lights make a big difference, they are nice & bright. Gave a 4 star instead of 5 because connecting to existing cargo light would require cutting the existing wire. I decided to plug in the new lights in place of the small cargo light so I didn’t have to altered the cables, (wish it came with adapter to plug both without the need for alterations), otherwise installation was easy. I am very happy with lights & would buy again.
R**E
Very bright
2024 RAV4 Hybrid: I was tempted to give this 4 stars due to the cheap connector not holding the red wire in place (see image for my solution). However, it was an easy $3 fix at Lowe’s, and I suspect electrical tape could also solve this issue. Tips: -Remove the 12V battery cover to locate the wire more easily when pulling it through. -Don’t hesitate to apply extra force when running the cable through the rubber grommet. What You’ll Need: Prying tool, tape, metal hangers or similar, dish soap, and patience. Step 1: Fishing the Power Wire to the 12V LED Source: The most challenging part was running the power wire to the 12V source near the battery (where the existing LED light is for t-tapping). I found it easiest to remove the three retaining clips holding the headliner in place using a prying tool. This gave me enough room to push the wire through. Removing and reinstalling the clips was straightforward, with no issues. Step 2: Running the Cable Through the Rubber Grommets: Feeding the cable through the rubber grommets (housing the existing wires) was tricky but manageable. Use the dish soap and the metal hangers.
R**T
Great solution to the lack of lighting in the cargo area.
What I needed for my Rav4 company car. I keep a lot of tools and parts in the back of my car and the factory light in the cargo area is almost nonexistent. Produces a good amount of light. Everything need to install it came with it. Installation was a little difficult because I ran the cable through the left wiring boot instead of outside of the right one as shown in the video I watched. It makes for a cleaner install but was a little frustrating to get the cable through the rubber boot.
J**E
Good, but lacks documentation, video, and some tools
Once installed, it looks fabulous and works well. Installed on 2025 RAV4 XLE Premium. The reason for 3 star, lack of instructions and perhaps company made video. 1) Feeding the wire through the grommet on the door (left side) is a PAIN, took me some time to do it. You need a thin firm chopstick or something to push it through. I used a skewer and used electric tape to attach wire to skewer, protect the tip, and push it through from the left into the door side. I had to cut a tiny bit on the left side of grommet to pull the wire through. I have no idea how a dash cam will fit through there. 2) No pry tools to help you with the panels, I have to go fishing for a tool I dropped between panels, job for another day 3) After full install it did not work, oh so frustrating. I figured it was the fuse but no instructions or anything on where to find the fuse. Was dreading going through it all, but figured it was near the split with the Toyota light, and I was right. Once fuse replaced it was fine. Fuse replacement is easy, unscrew, put the new fuse in and done. Again, overall great look, don't know how long before fuse blows again. But lack of instructions, demo video, and tools makes it a tough job.
T**A
Must Have
These are awesome! Instructions suck but you can find videos online to help with the installation.
L**D
good buy
great . works really well . casts a good light in the trunk of the car. easy to install
P**A
Functional Product but be patient on install.
This kit worked extremely well for my 2024 Toyota Rav4 Limited model. Don't rely upon the very brief instructions with kit but go to You Tube videos that show several ways to do the install. I bought some automotive tools to work with the gromets and headliners inside of the vehicle which were a real asset. The biggest obstacle was to thread the wiring through one of rubber gromets in the hatch door and I went thru the smaller one. I also used a fish wire to run the wiring kit which was a benefit. The biggest thing is be patient when threading thru the gromets and use good old Vaseline on the wiring to make it easier to thread thru. The lights work very well and can be lit manually with touch screen but they worked perfectly when opening the hatch door and would automatically shut off when you closed the hatch door. The lighting makes a real difference in the cargo space now especially at night of course. I recommend this kit and the manufacture should have had this kit already installed in their vehicles to provide more visibility. This kit connects to the already installed light in the cargo space on the right side of vehicle. Highly recommend this kit to other users.
C**S
Adds lighting that was much needed
Does the job it need to do. To add more light to the hatch. The longest time was spent getting the wire thru the grommet from body of car to tailgate. One of the lights was loose but a little tape tighten things up. Well worth the cost
A**R
Works great and provides excellent liftgate lighting!
This kit works great and illuminates the entire area beneath the liftgate, making it much easier to load and unload in the dark. The only downside is that the package doesn't include adequate installation instructions. Fortunately, there are several online videos that show how to safely remove the interior plastic trim and route the wiring. The two LED light panels are designed specifically for the left and right sides, but the package doesn't identify which is which. You'll need to test-fit them to determine the correct orientation before installation. Installation took me about 45 minutes. Be patient when removing the plastic trim to avoid damaging the clips. Routing the wiring takes the most time, especially feeding it through the side panel and the liftgate's rubber boot/grommet. The opening is small, but it can be stretched enough to pass a 14 or 16 AWG wire through without too much difficulty. Overall, despite the lack of instructions, the installation is straightforward if you review a few of the online videos, and the improved lighting is well worth the effort.
D**I
The most useful upgrade for your RAV4!
Love this relatively simple install. It took me about 40 minutes. The hardest part was fishing the cable through the grommet. It’s easier if you use the left (larger) grommet. It was extra hard for me because I already had an extra cable going thru it for my rear cam. But there’s definitely still room it’s just a bit of extra pain. You’ll need a fishing wire. Something stiff. I had some spare break cable for a bicycle. Thin but stiff! That’s what you need. Easily fished the wire thru and then from there, it was easy peazy to get the light cable thru. After that, the install was quick. Word of advice I will reiterate from another review: Connect the power as the LAST STEP. And make sure there is not power going thru it while you are doing it because you could easily blow a fuse. Luckily they include extra fuses in the package. Oh. One annoying thing is that these lights don’t fit super snug in the openings. So you might find they rattle as you drive. Easy enough fix tho. No regrets. This should be standard option from Toyota!!!
Trustpilot
1 week ago
1 week ago