Description
🧖♀️ Elevate your nail game with silk-powered strength and effortless style!
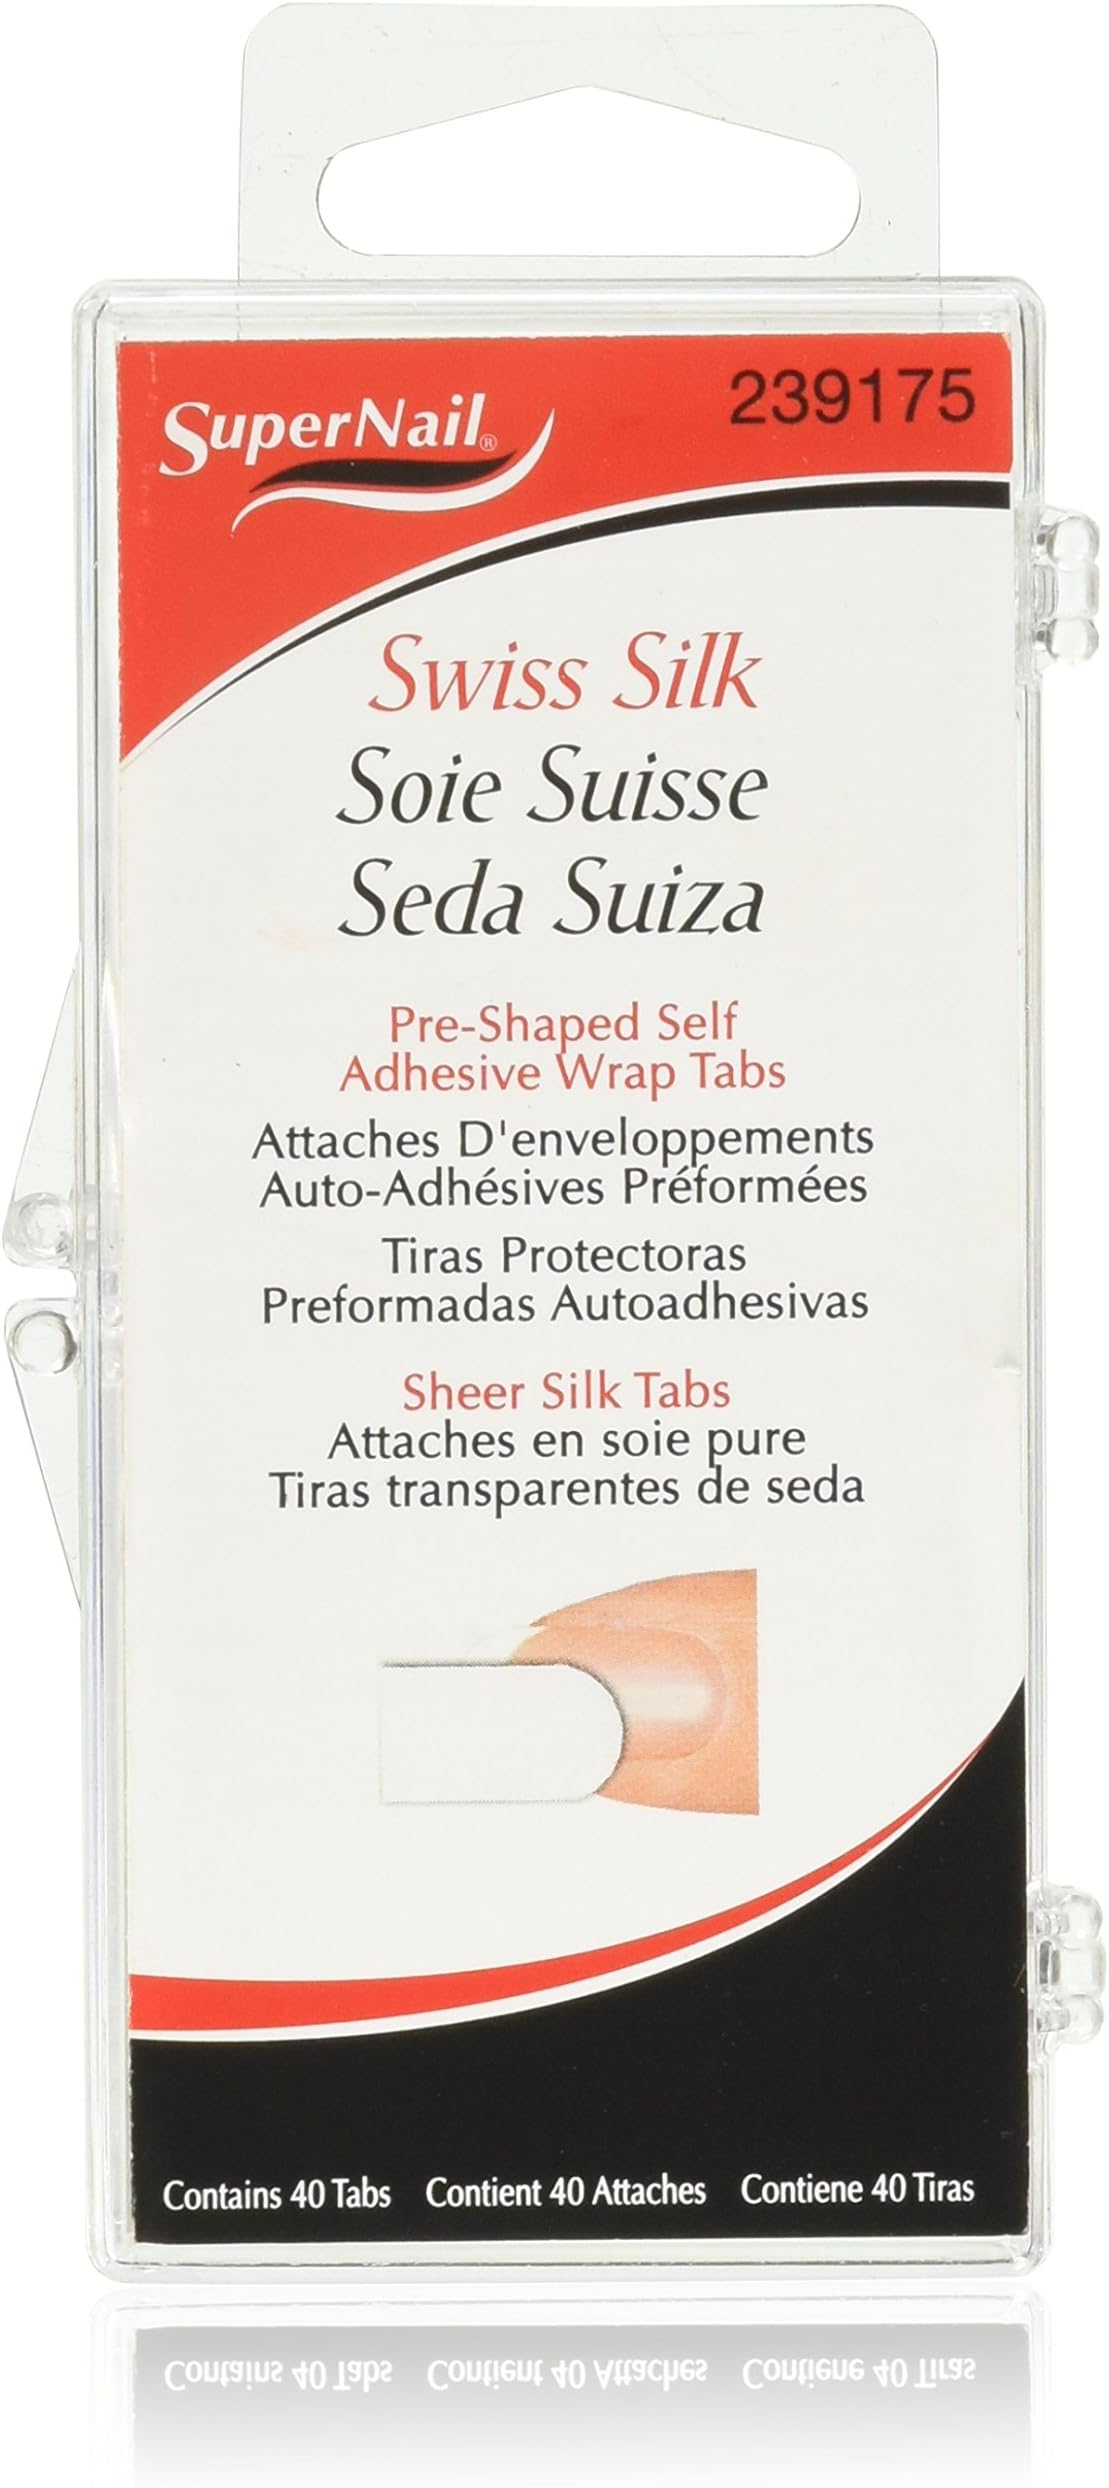
- SILK STRONG NAILS - Harness the power of 100% pure Swiss silk to naturally reinforce your nails.
- INVISIBLE ELEGANCE - Sheer finish blends seamlessly for a flawless, barely-there look.
- TRUSTED BY THOUSANDS - Join over 4,400 happy users who rate it 4.1 stars for reliable nail care.
- LIGHTWEIGHT DURABLE - Ultra-light 0.05 lbs pack that delivers long-lasting nail strength without bulk.
- EFFORTLESS APPLICATION - Pre-shaped, self-adhesive tabs save time and ensure a perfect fit every time.
Swiss Silk Wrap Self-Adhesive Tabs offer 40 pre-shaped, easy-to-apply tabs made from 100% pure Swiss silk, designed to strengthen natural nails with a sheer, natural finish. Lightweight and highly rated, this US-made beauty essential combines convenience and durability for professional-quality nail care.