Description
📸 Elevate your analog memories to digital masterpieces—don’t let your past fade away!
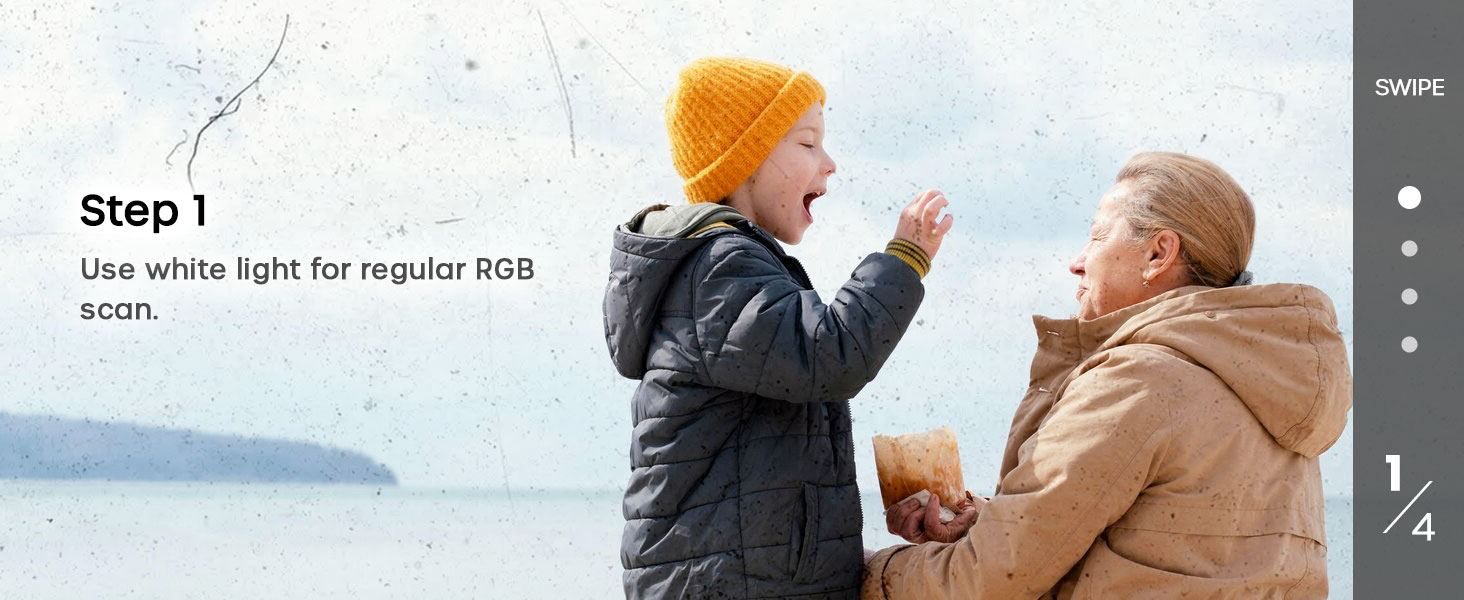
- VIBRANT COLOR DEPTH - 48-bit input and output ensures your scans retain rich, true-to-life colors with exceptional detail.
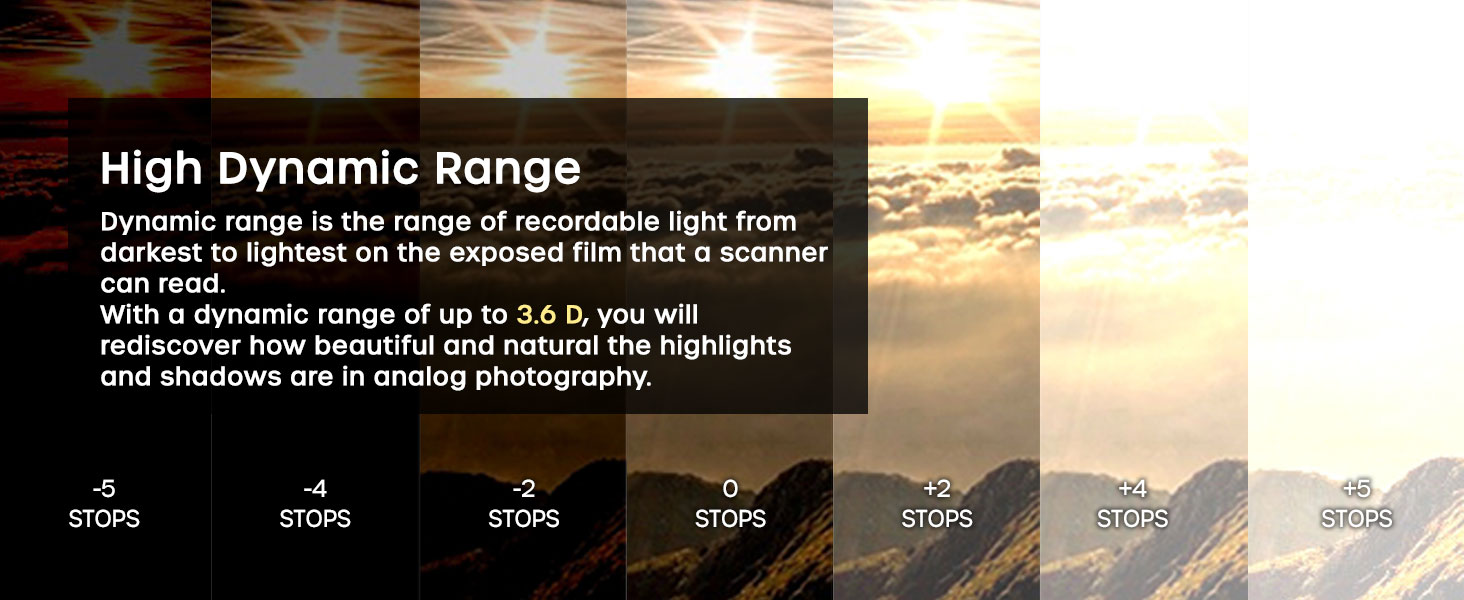
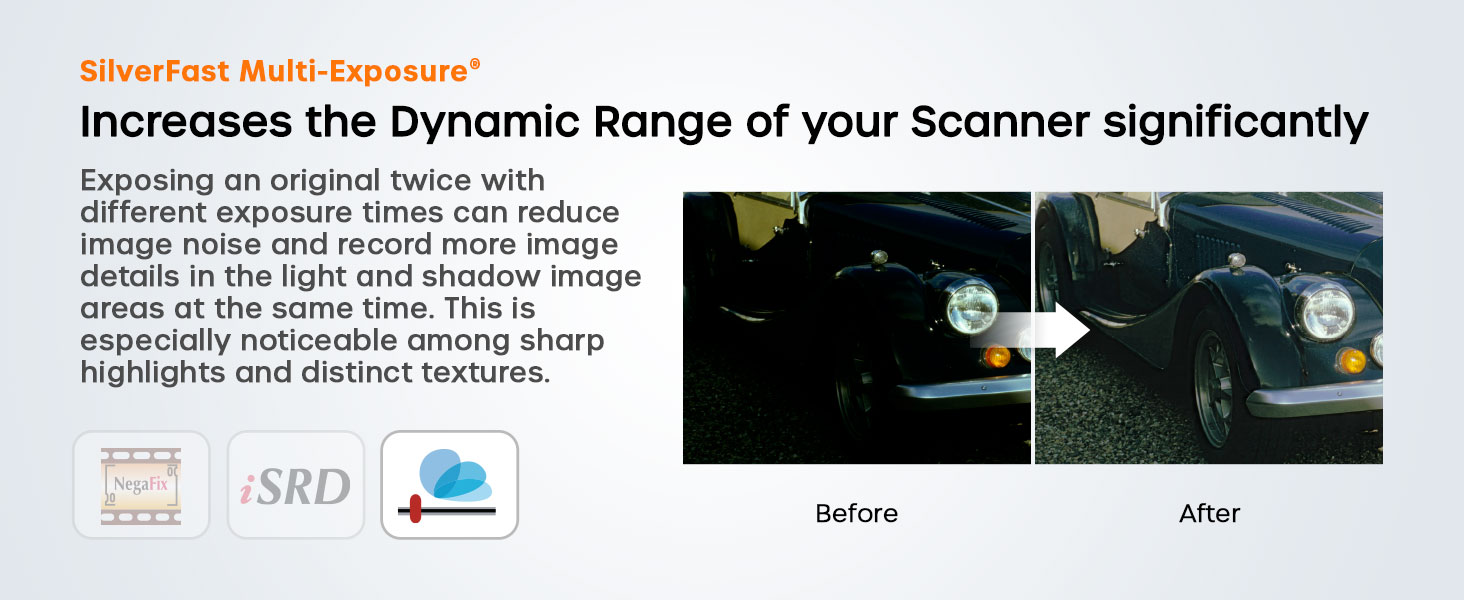
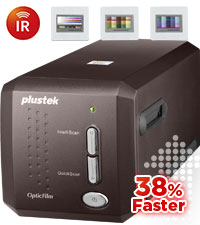
- DYNAMIC RANGE ENHANCEMENT - Multi-exposure function boosts dynamic range up to 3.6x for professional-grade image quality.
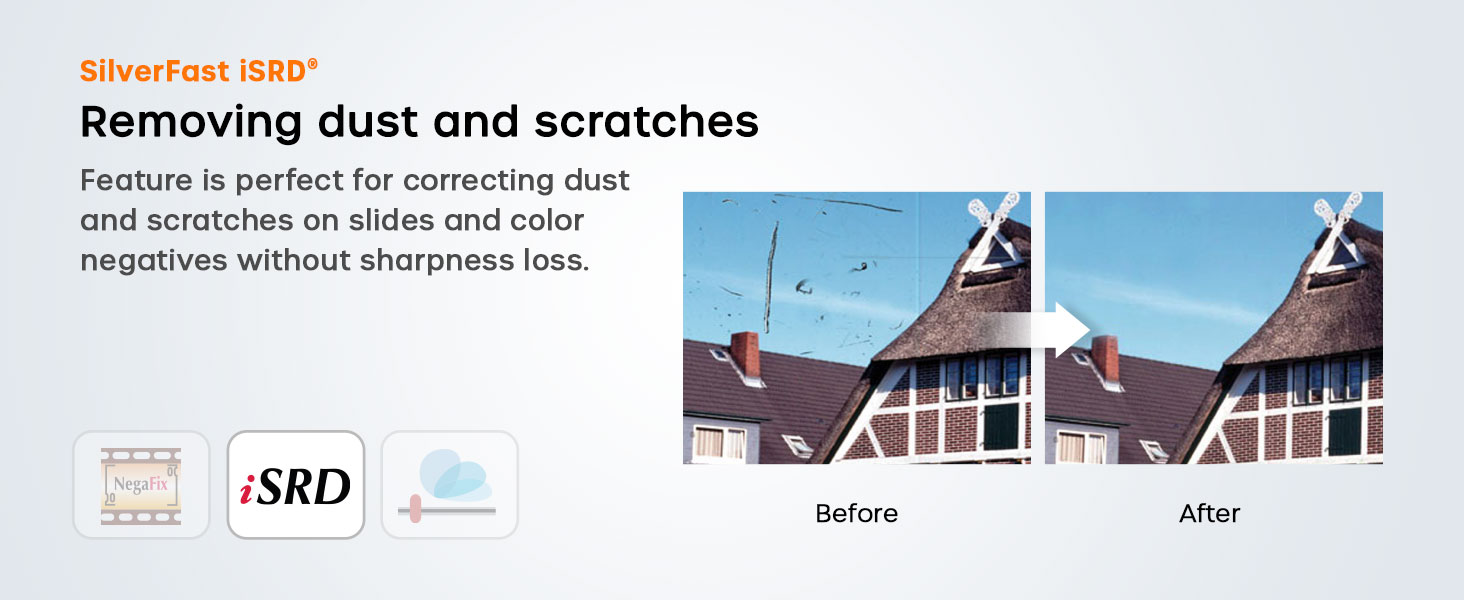
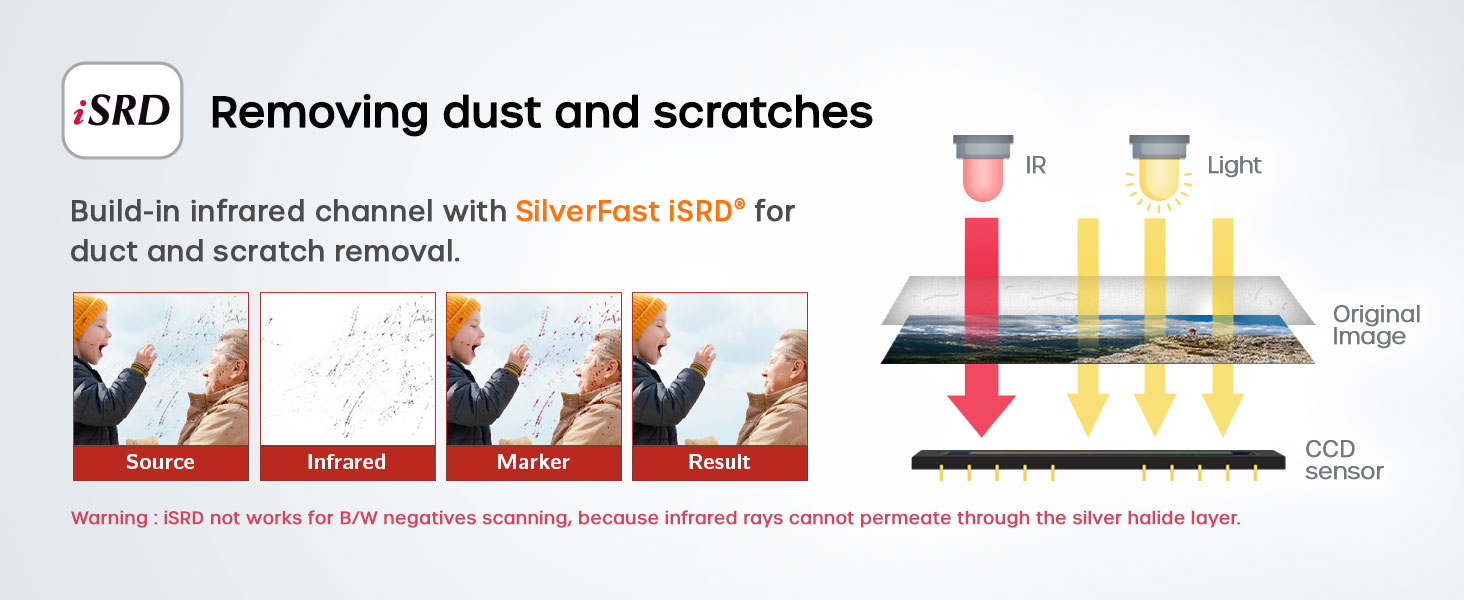
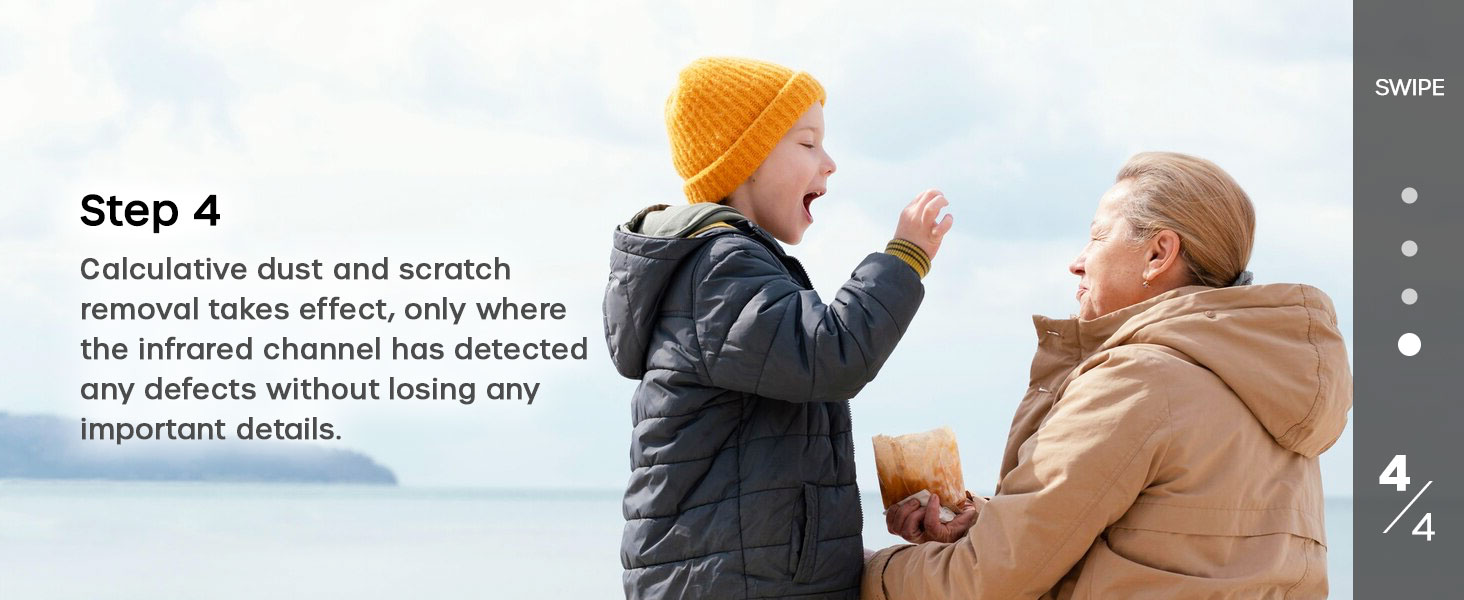
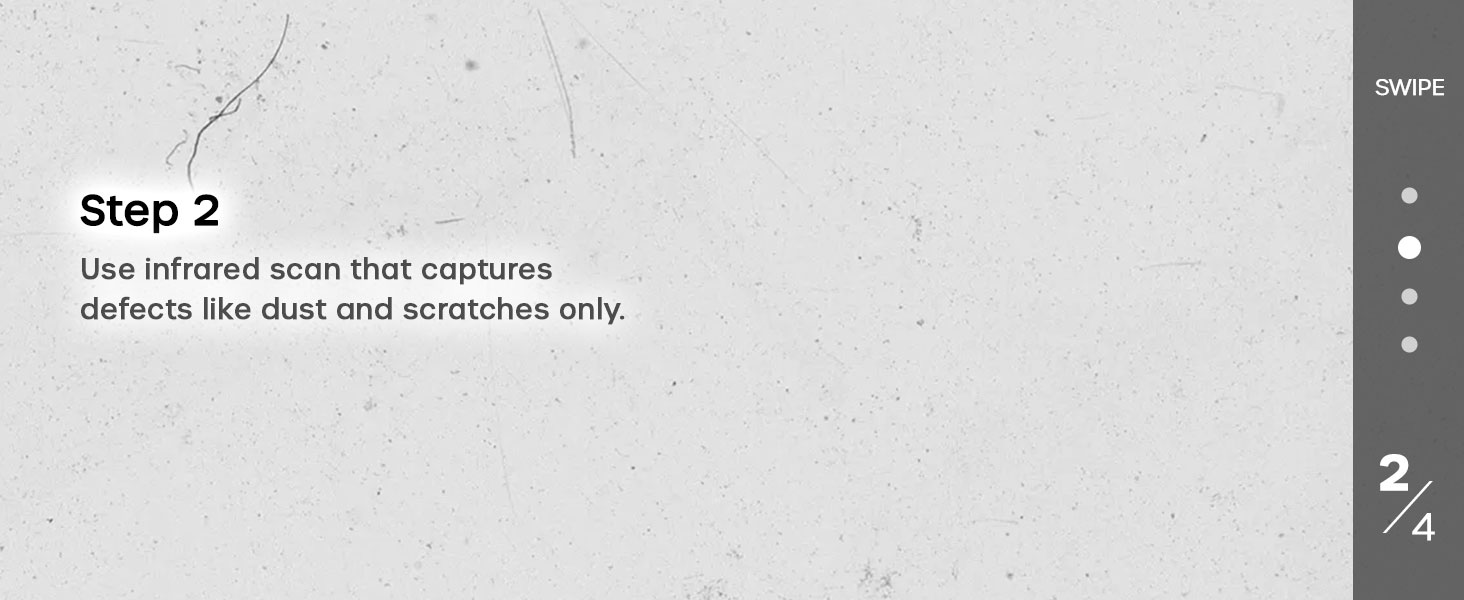
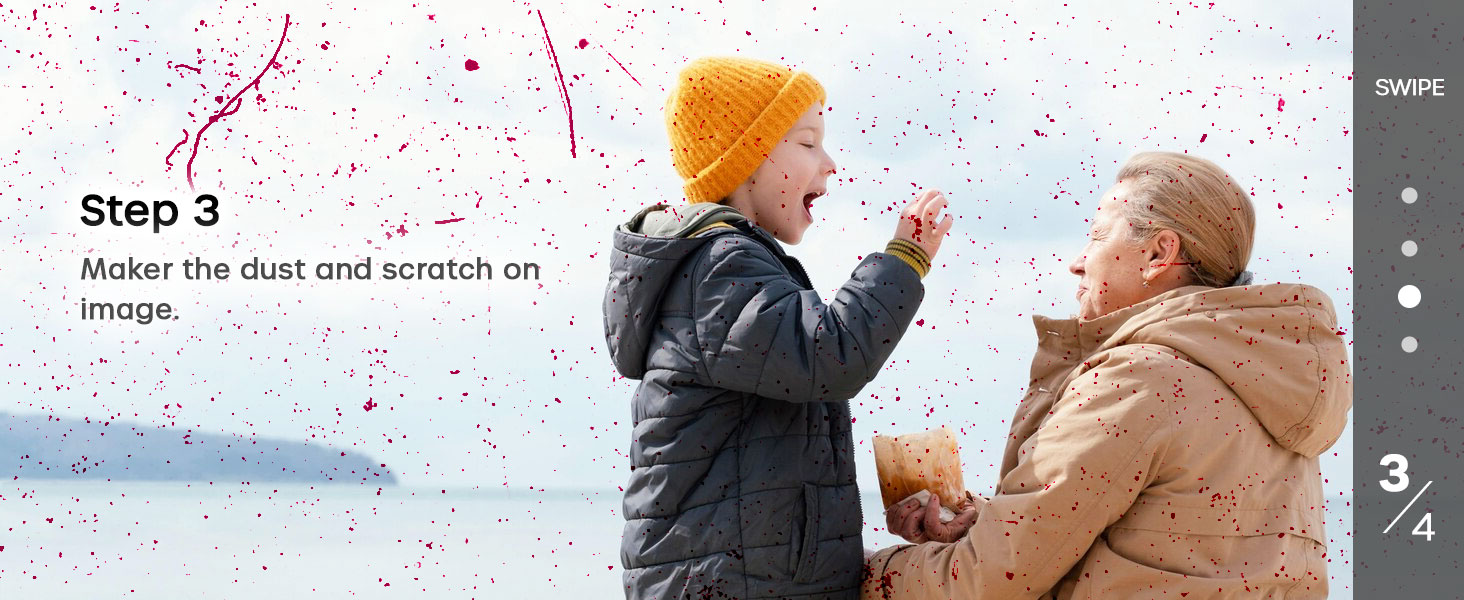
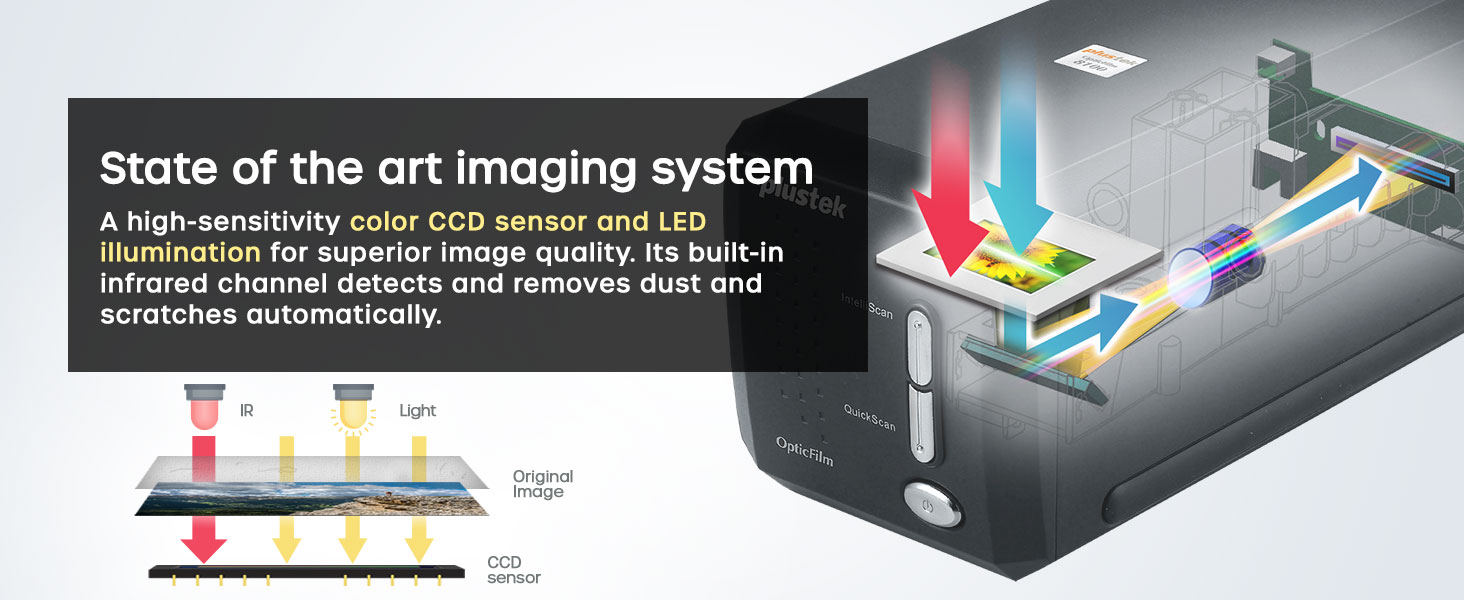
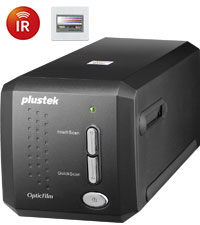
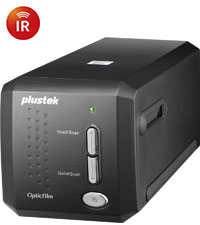
- FLAWLESS IMAGE RESTORATION - Integrated infrared channel automatically detects and removes dust and scratches—no manual retouching needed.
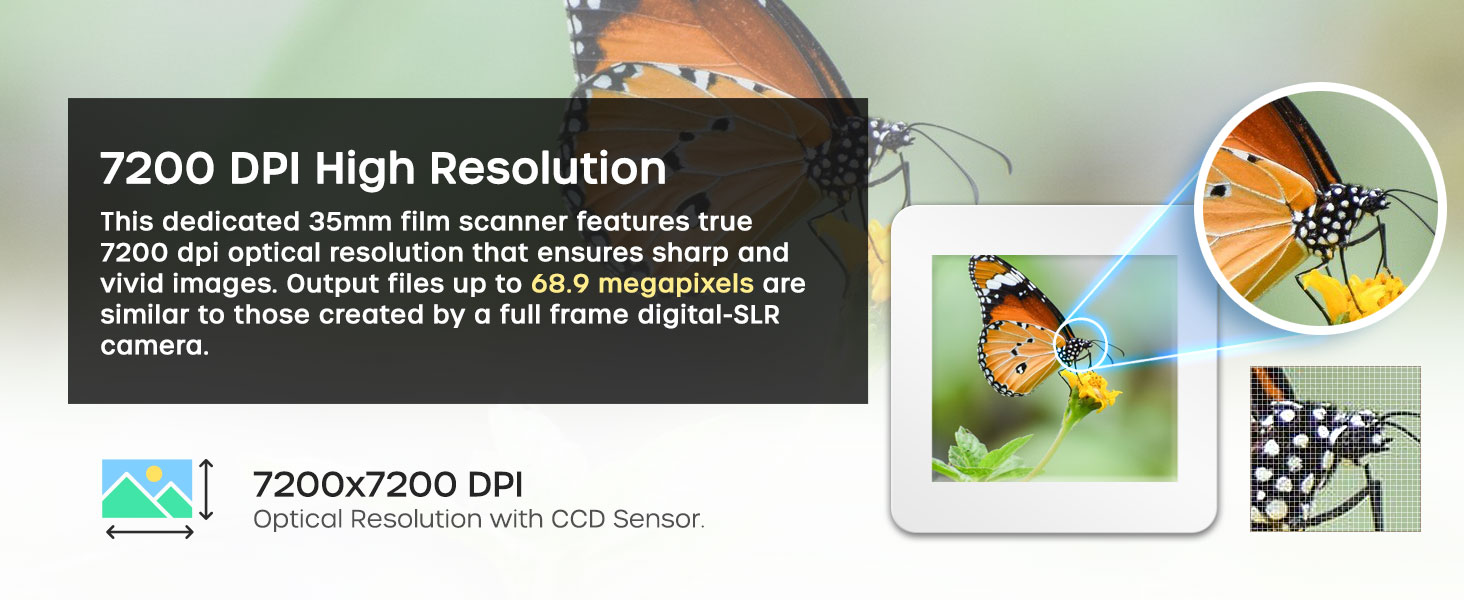
- ULTRA HIGH RESOLUTION CAPTURE - Scan your 35mm negatives and slides at a stunning 7200 x 7200 dpi for crystal-clear 69MP images.
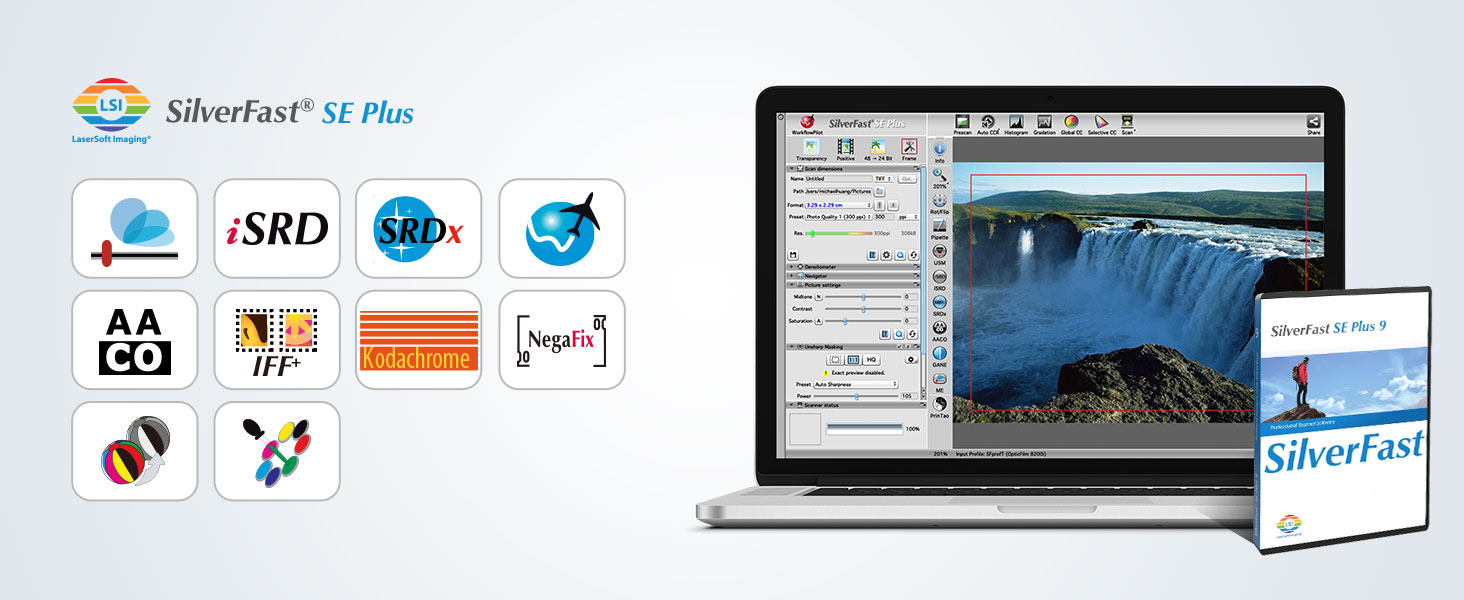
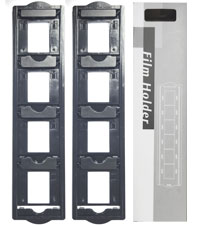
- SEAMLESS CROSS PLATFORM SUPPORT - Fully compatible with Windows 7-11 and Mac OS 10.7-14.x, bundled with SilverFast SE Plus 9 software for effortless workflow.
The Plustek OpticFilm 8200i SE is a premium 35mm film and slide scanner delivering ultra-high 7200 dpi resolution and 48-bit color depth. Featuring an integrated infrared channel for automatic dust and scratch removal, it ensures pristine scans without manual editing. Bundled with SilverFast SE Plus 9 software and compatible with both Mac and PC, it offers enhanced dynamic range and professional-grade image quality for digitizing your film archives with ease.