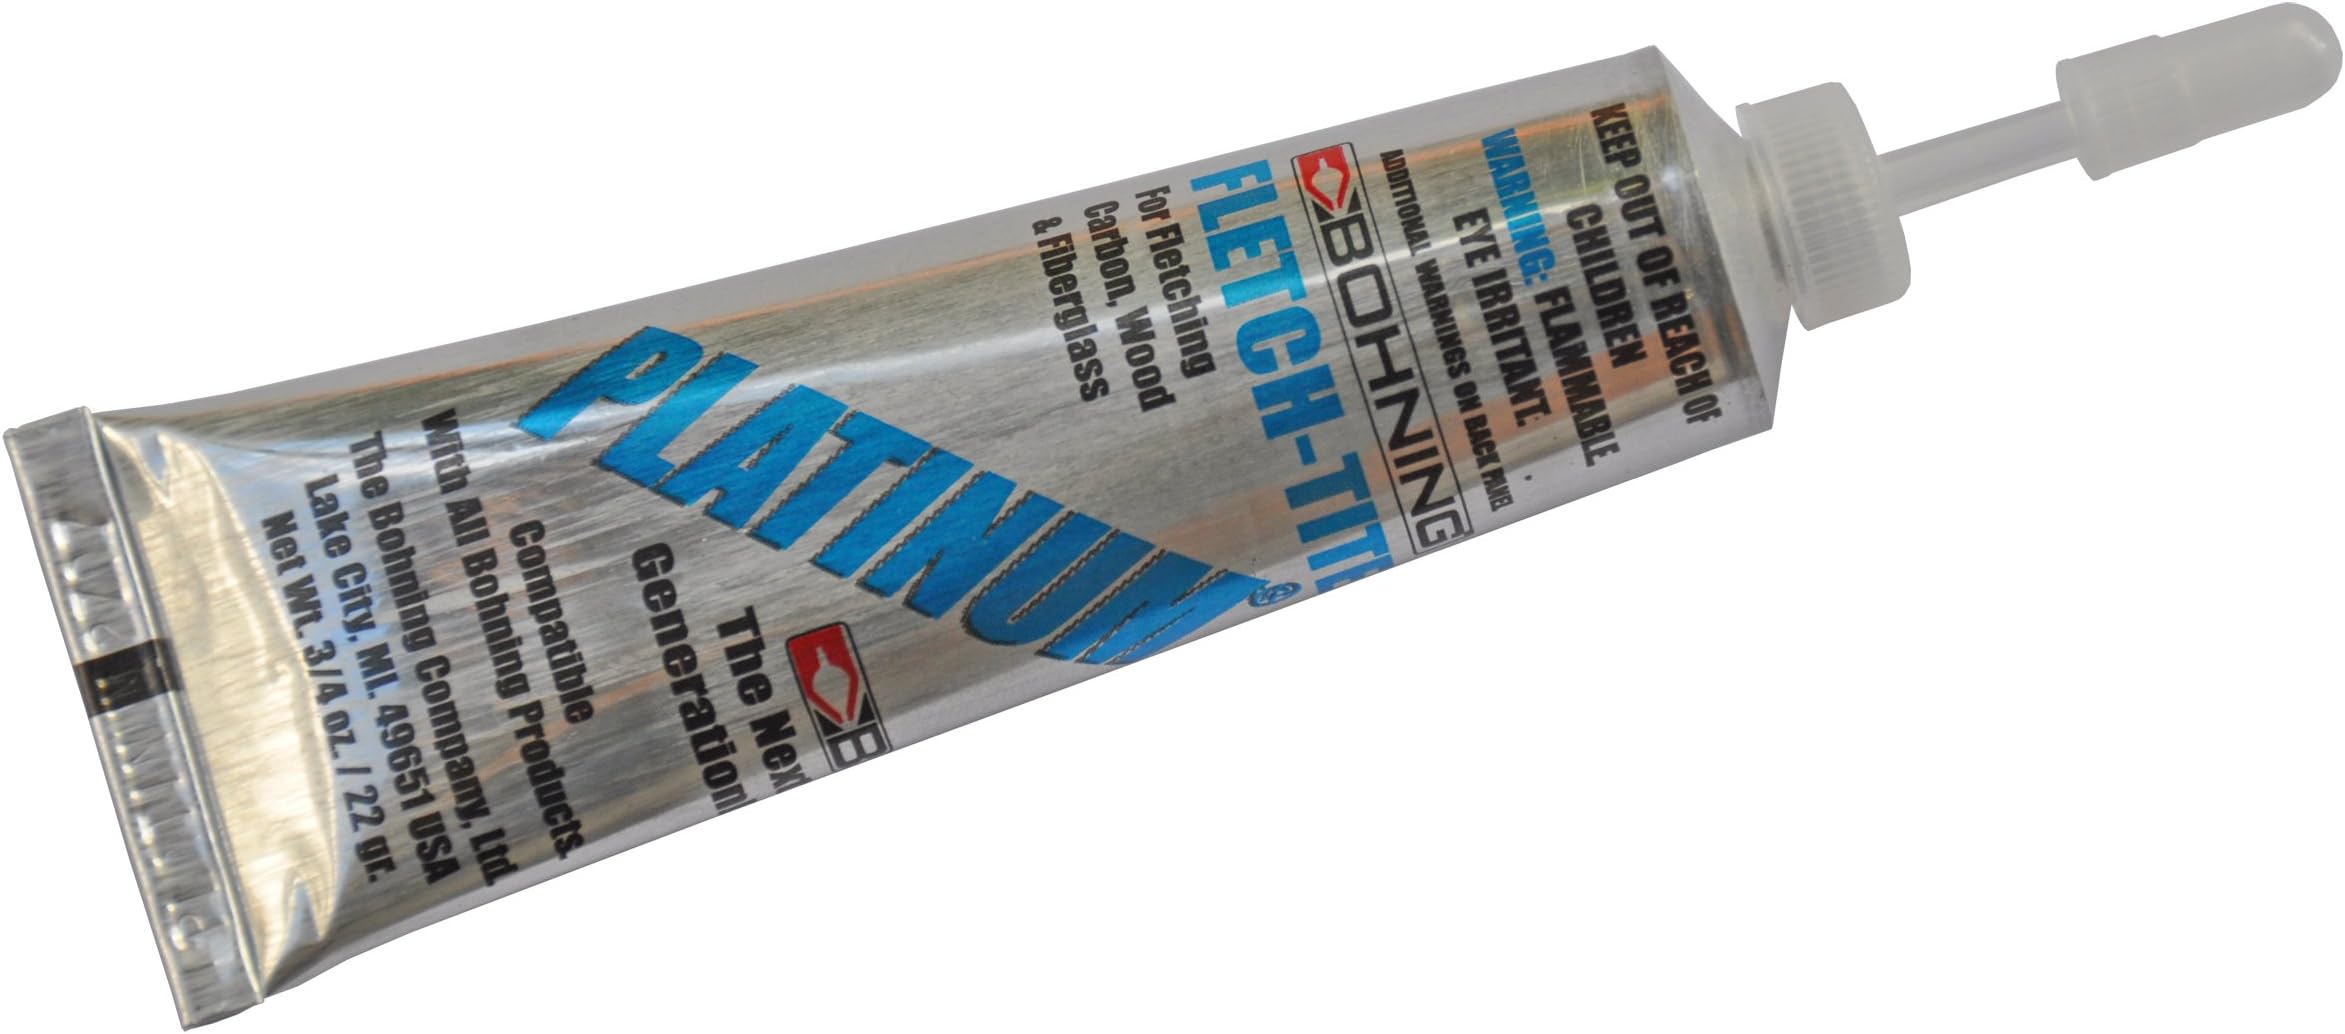
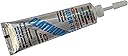


Platinum Fletch Tite 3/4oz
Product ID: 4149347
Details
- BrandBohning
- ColorClear
- Item FormLiquid
- Item Package Quantity1
- MaterialCarbon Metal
⏳5 min clamp time
🌡️Optimal in low humidity
🛡️Shock-absorbing flexible bond
Buy anything from 5,000+ international stores. One checkout price. No surprise fees. Join 2M+ shoppers on Desertcart.
Desertcart purchases this item on your behalf and handles shipping, customs, and support to Brazil.
🎯 Stick with the best—fletch like a pro, hunt like a legend!
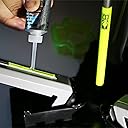
Bohning Platinum Fletch Tite 3/4oz is a solvent-based adhesive designed for vanes and feathers on all arrow shafts, especially carbon and wood. It offers a flexible, shock-absorbing bond that resists cracking, with a quick 5-minute clamp time and full cure in 48 hours. Ideal for low-humidity conditions, this industry-standard glue has been trusted by archers for over 70 years.


| ASIN | B000QGKHA6 |
| Best Sellers Rank | #15,600 in Arts, Crafts & Sewing ( See Top 100 in Arts, Crafts & Sewing ) #820 in Craft Adhesives |
| Brand | Bohning |
| Brand Name | Bohning |
| Color | Clear |
| Compatible Material | Carbon Fiber, Fiberglass, Wood |
| Container Type | Tube |
| Customer Reviews | 4.6 out of 5 stars 2,463 Reviews |
| Full Cure Time | 48 Hours |
| Global Trade Identification Number | 00010847013019 |
| Included Components | Adhesive, Tip and Cap |
| Item Form | Liquid |
| Item Package Quantity | 1 |
| Item Type Name | Fletch-Tite Platinum |
| Item Weight | 22.68 g |
| Manufacturer | Bohning Company, LTD |
| Material | Carbon, Fiberglass, Metal, Wood |
| Material Type | Carbon, Fiberglass, Metal, Wood |
| Model | 1301 |
| Package Information | Tube |
| Part Number | 1301 |
| UPC | 682055370538 796254172692 010847013019 |
| Viscosity Level | Medium |
| Volume | 0.75 Fluid Ounces |
| Warranty Description | 90 day warranty against manufacturer defects. |
| Water Resistance Level | Water Resistant |
W**R
M**E
E**S
J**S
A**R
D**H
L**S
L**B
A**E
K**N
D**D
M**P
T**G
Trustpilot
2 weeks ago
3 weeks ago